
How to Clean Walking Boots
Cleaning your walking boots regularly is key to keeping them in good condition and ensuring they last longer. Over time, the boots will accumulate mud and sweat, which can impact their performance and comfort and mean they lose their waterproofing capabilities.
Regular cleaning and reproofing help preserve the materials, improve grip, maintain waterproofing, and prevent odours. We’ll take you through a step-by-step guide on how to clean and reproof your walking boots or shoes, ensuring they stay in top shape for all your adventures.
Contents
Maintenance tips for your walking boots
Why it’s important to clean your walking boots
Step 1: Gather your supplies
Before you begin, gather all the necessary supplies:
- Warm water
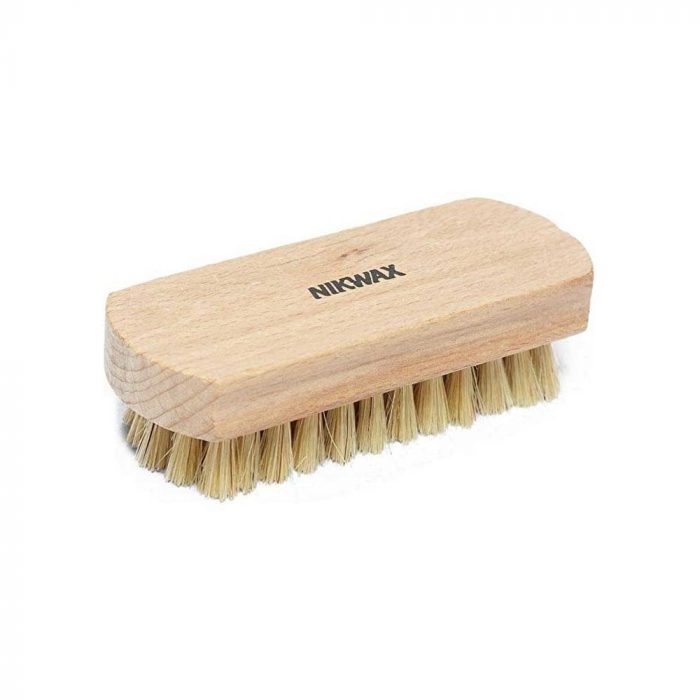
- Soft-bristle brush or a dedicated shoe-cleaning brush
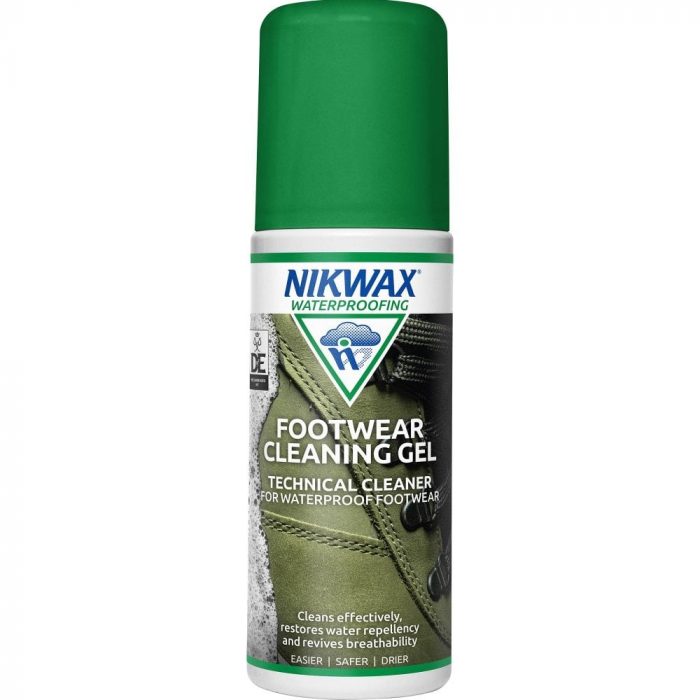
- Mild soap or specialised boot cleaner
- A clean cloth or sponge
- Waterproofing product (such as a wax-based cream or spray)
- Newspaper or paper towels
Step 2: Prepare your boots/shoes
Remove the laces & insoles: Start by removing the laces and insoles from your walking boots or shoes. This will make it easier to clean and reproof every nook and cranny.
Shake out any loose dirt or debris from inside and outside the footwear.
Step 3: Cleaning the outside of your boots
Remove surface dirt: Use a soft-bristle brush or a dedicated shoe-cleaning brush to gently scrub away dirt and grime from the exterior of your boots or shoes.
Spot clean with soap: If the dirt is caked on, use warm water and a mild or specialised boot cleaner to create a soapy solution. Dip the brush in the soapy water and scrub the surface, especially seams and crevices.
Focus on the sole: The soles of your boots pick up the most mud and debris. Scrub them well with the brush, and use a damp cloth to wipe them down if needed.
Never put boots in a washing machine. The heat, soap and roughness can damage them.
Step 4: Cleaning the inside of the boots
Wipe down the interior: Clean the interior of your boots or shoes with a damp cloth or sponge.
Remove odours: Ensure you remove sweat or moisture, which can lead to odours and discomfort. Sprinkle baking soda inside each boot and let it sit for a few hours to absorb any lingering smells, then shake it out. Or, use an odour eliminator spray.
Step 5: Rinse your boots
Remove soap residue: Rinse any soap residue from the exterior and interior with clean water. Use a new, clean cloth to wipe them down. Leaving soap can cause dryness or discolouration as the boots dry, so check to be sure all areas are cleaned off.
Step 6: Allow boots to dry
Stuff them with newspaper: Stuff the boots or shoes with newspaper or paper towels to help absorb excess moisture, retain the boot’s shape, and speed up drying.
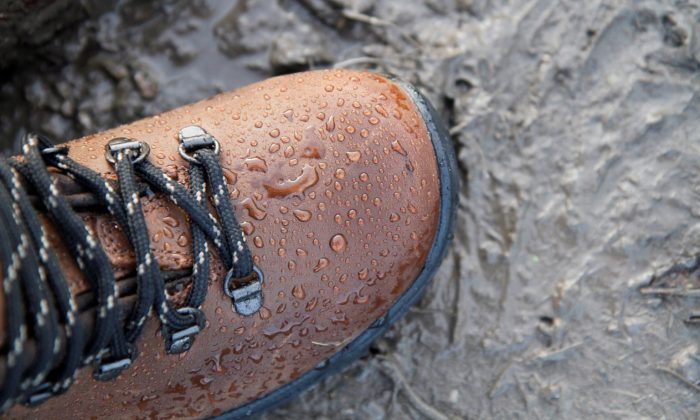
Air dry boots: Let them air dry at room temperature in a well-ventilated area. Avoid direct sunlight, which can dry the leather too quickly and cause cracks or fading.
Avoid exposing them to direct heat sources like radiators, which can damage the materials.
Step 7: How to reproof your walking boots
Once your footwear is dry, it’s time to reproof it to restore its waterproofing capabilities. Cleaning can sometimes remove a bit of the waterproof coating, so it’s important to reapply as needed.
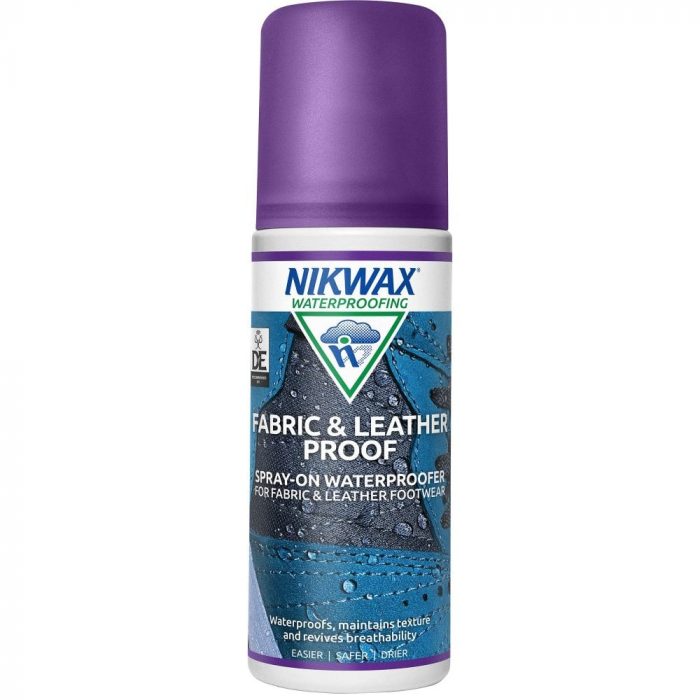
There are two main types of waterproofing products: wax-based creams and sprays. Choose the appropriate one for your boots or shoes based on material.
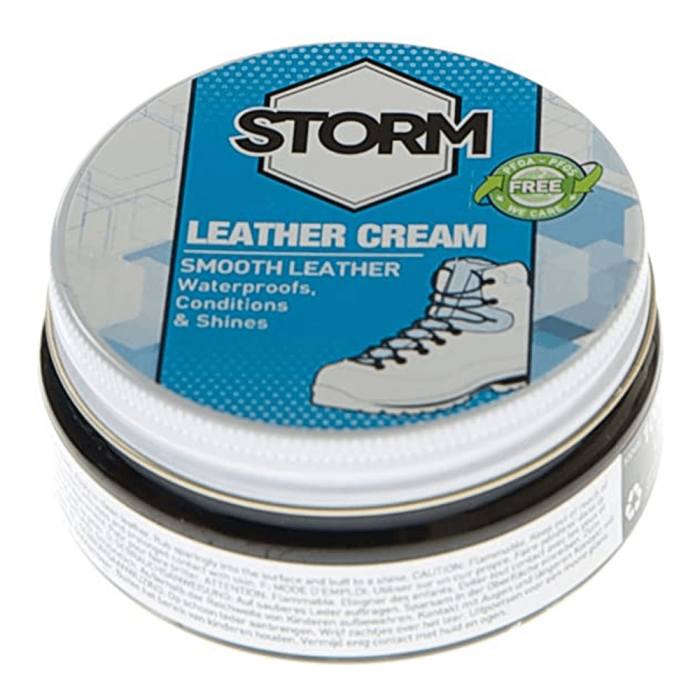
- Wax-based creams: These are suitable for leather boots. Apply a small amount of cream to a cloth and rub it into the leather, paying attention to seams and high-wear areas. Allow the cream to soak in, and then use a clean cloth to buff the surface for a polished finish.
- Sponges: Waterproofing sponges are ideal for synthetic materials, and using a sponge bottle works the proofer into the boot or shoe far more effectively than an equivalent spray.
- Sprays: Waterproofing sprays are suitable for synthetic materials like nylon or mesh. Hold the spray can about 6-8 inches away from the boots or shoes and apply an even layer. Be sure to spray the entire surface, including seams and stitching.
After reproofing, allow your boots or shoes to sit for a few hours or as directed on the product label. This gives the waterproofing agent time to bond with the material.
Step 8: Reassemble and test
Reinsert the insoles and laces once your boots or shoes are completely dry. Before your next adventure, it’s a good idea to test the waterproofing by splashing a bit of water on your footwear. If the water beads up and rolls off, your boots are properly reproofed and ready for action.
Maintenance tips for your walking boots
Regular spot cleaning: Wiping down boots after every hike can prevent dirt buildup, making each deep clean easier.
Monthly deep clean: If you wear your boots regularly, aim for a deeper clean every month to maintain performance and hygiene.
Proper storage: Store your boots in a cool, dry place, away from direct sunlight and damp conditions. Avoid leaving them in tightly sealed spaces where they can’t air out.
Why it’s important to clean your walking boots
Better performance: Dirt, grime, and mud can compromise the grip and cushioning of your boots, reducing comfort and traction on rough terrain.
Longer use: Regular cleaning prevents materials from breaking down prematurely, preserving your boots’ appearance and functionality.
Health and hygiene: Boots that aren’t cleaned can start to smell and may develop bacterial growth due to sweat and moisture.
Shop walking boots and shoe care from Outdoor Action
Properly maintaining your walking boots or shoes through regular cleaning and reproofing extends their lifespan and provides you with the comfort and protection you need on your outdoor adventures.
With these simple steps, you can keep your footwear in top shape and ready to take on any terrain. So, gear up, hit the trails, and confidently enjoy the great outdoors in your clean, reproofed walking boots or shoes.
Comments are closed here.