
How to Pitch a Tent: The Ultimate Step-by-Step Guide
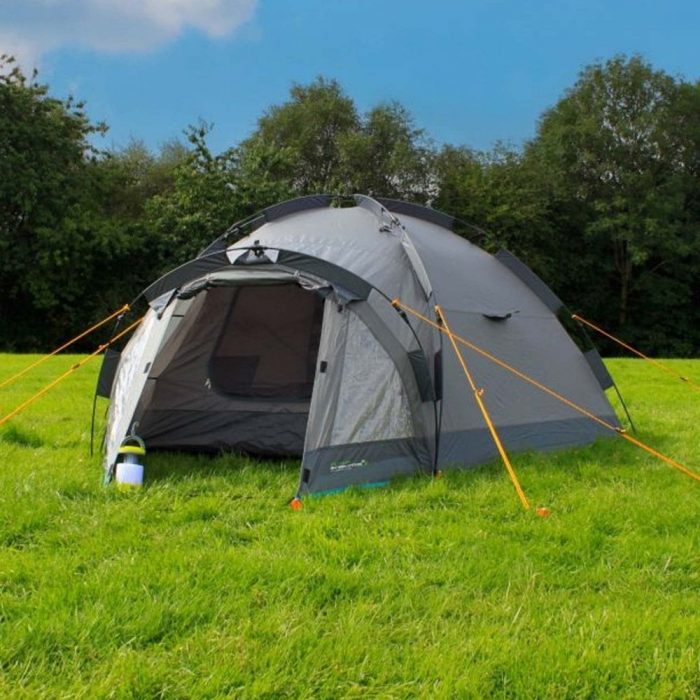
Pitching a tent correctly is essential for a comfortable night’s sleep, proper shelter from the elements, and prolonging the life of your gear. While a new tent can seem like a jumble of fabric and poles, the process is straightforward once you know the basics.
This guide will walk you through everything you need to know, from a quick checklist to a detailed, step-by-step pitching process. By the end, you’ll have the confidence to set up your shelter quickly and securely, making your campsite feel like a true home away from home.
Quick Steps on How To Set Up a Tent
- Check that you have all your equipment before leaving.
- Find a flat, clear spot and remove any debris.
- Unfold the tent body and spread it flat on the ground.
- Put the tent pole sections together.
- Attach the poles to the tent body using either sleeves or clips.
- Insert pole ends into the grommets or ring pin at the corners to create the tent’s frame.
- Secure the tent corners and sides to the ground with pegs, driven in at a 45-degree angle.
- Drape the rainfly/flysheet over the tent and secure it to the frame.
- Use the guylines to pull the tent taut and add stability.
Contents
Pre-Setup Checks and Preparation
How To Pitch a Tent Step-by-Step
Common Tent Setup Mistakes to Avoid
Pre-Setup Checks and Preparation
Before you even leave home, a quick check of your tent can save a lot of frustration. Lay your tent out in the garden or a large room, and ensure you have all the necessary components: the tent body, poles, all pegs, and any guylines. It’s a lot easier to find a missing pole at home than at a remote campsite.
Choosing a camping area
Once you arrive at your campsite, take a moment to select the ideal spot. Look for a level, clear area. Avoid any slopes where you might roll in the night, and steer clear of low-lying depressions where water could collect if it rains. Clear the ground of any sharp rocks, sticks, or other debris that could puncture the tent floor.
How To Pitch a Tent Step-by-Step
While every tent is different and you should follow the specific instructions that come with your tent, the main process for setting up a modern poled tent remains consistent. Following these steps will help you set up your shelter quickly and correctly.
1. Lay out the tent
Unpack your tent and lay the tent body flat on the ground. Spread it out fully, making sure there are no folds or twists.
Orient the tent so that the main entrance faces the desired direction, taking into account the sun, wind, and the path to your fire pit or cooking area.

2 Assemble the poles
Take the tent poles from their bag. They are usually made of sections connected by an internal elastic shock cord. Carefully make sure each section is put together fully. Be careful not to let them snap back too hard, which can damage the ferrules (the metal sleeves on the ends). Lay the assembled poles out in a way that corresponds to how they will attach to the tent body.
If you have an air tent, follow our guide on Understanding & Setup: How to Pitch an Air Tent for Easy Camping.

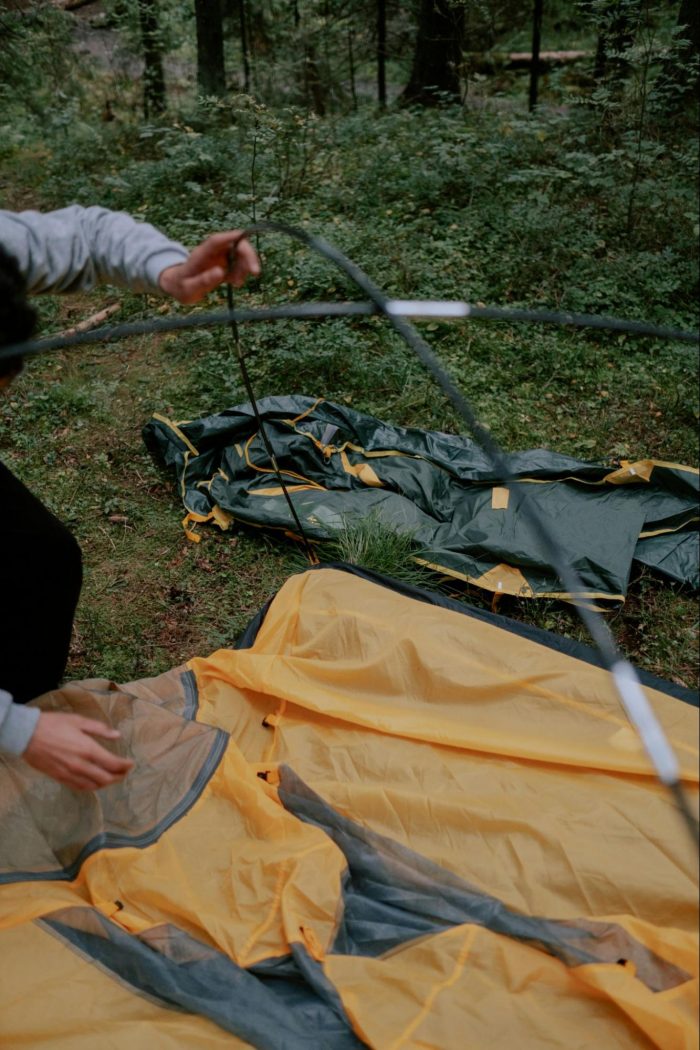
3. Attach Poles to the Tent Body
This is when the tent’s structure begins to take shape. There are two common methods for attaching poles:
- Sleeves: Some tents have long fabric sleeves through which the poles are threaded. Start at one end of the sleeve and push the pole through until it comes out the other side. Make sure poles are freely moving and to stop if you feel resistance to avoid ripping the pole sleeves.
- Clips: Many modern tents use a clip system. With this method, simply lay the poles over the tent body and clip the plastic hooks onto them. This is generally faster and less prone to snagging than the sleeve system.

4. Raise the Tent Structure
Once the poles are attached, the tent will begin to take its shape. You will need to tension the poles to create a rigid frame. This is done by inserting the pole ends into grommets (small metal rings) or pins at the corners of the tent. Once all poles are in their designated spots, the tent should be able to stand on its own, providing the basic framework.
5. Peg it Down
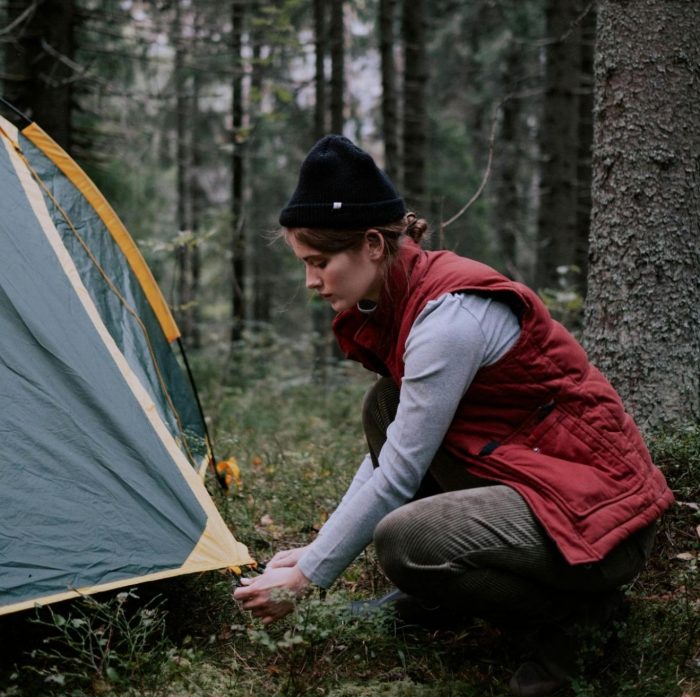
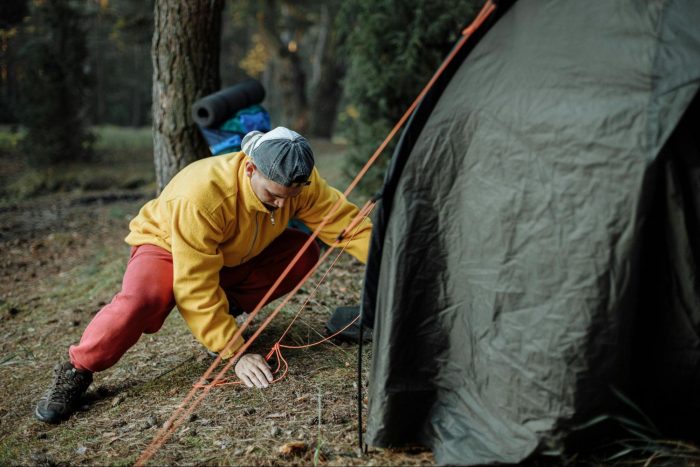
This is a crucial step for both stability and proper shape. Using a mallet or a rock, drive the peg into the ground through the loops at the base of the tent corners. For maximum hold, drive the pegs in at a 45-degree angle, pointing away from the tent. This angle helps the peg resist the tension pulling on it. Once the corners are secured, peg down the remaining points along the sides of the tent.
6. Add the Rainfly
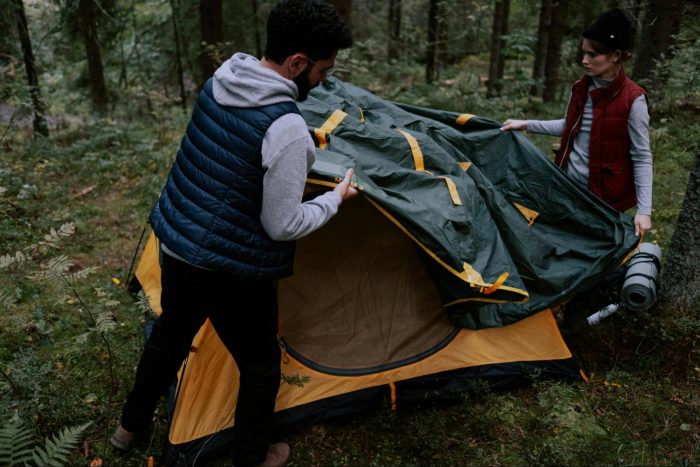
Some tents come with a rainfly, which is your tent’s first line of defence against rain and wind. If yours comes with one, drape the rainfly over the tent body, making sure it is properly aligned with the doors and windows. Most rainflies have colour-coded straps or buckles that correspond to the tent body’s corners. Once aligned, clip or tie the rainfly to the tent body’s frame or corners.
7. Tension with Guylines
A fully pitched tent is not complete without its guylines. Guylines are the cords that run from the tent to the ground, providing crucial stability and keeping the rainfly taut and away from the inner tent. Peg each guyline out, making sure it is tensioned properly. Use the attached line adjusters to get the right tension. The lines are there to support the tent, but should not be so tight that they put excessive strain on the tent seams.
Pitching Specific Tent Types
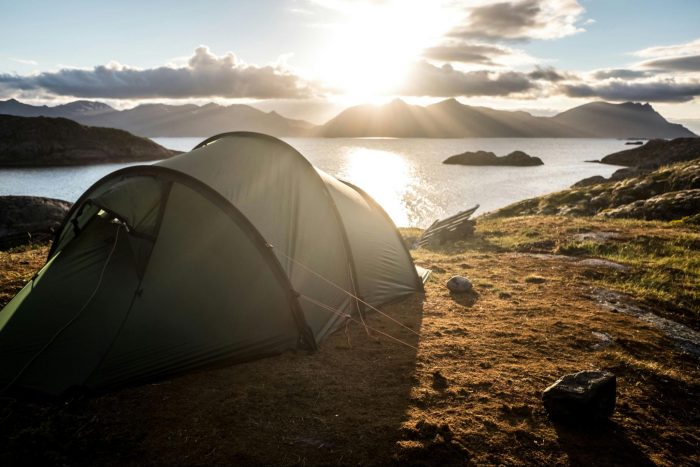
- Dome Tents: These typically use two or more poles that cross over the top. The criss-cross pole system creates a sturdy, dome-like structure that is very stable.
- Tunnel Tents: These have parallel poles that create a long, tunnel-like shape. Pitching a tunnel tent requires you to peg out one end first, then pull the tent taut and peg out the other end.
- Air tents: These tents use inflatable beams instead of traditional poles for structural support. For more information, explore our guide on Understanding Air Tents and Set Up.
Mastering Guylines and Pegs
Guylines are an important part of a tent’s structure, especially in windy conditions. They provide extra stability and help to pull the rainfly taut, ensuring water runs off and doesn’t pool.
To tie a guyline, you can use a tautline hitch, which allows you to easily adjust the tension. Tie the guyline to a loop on the rainfly, then peg the other end into the ground, ensuring the line is taut.
Properly pegging your tent is just as important as pitching it correctly. All the guylines and tent corners should be pegged. Do not skip this step, even on a calm day.
Common Tent Setup Mistakes to Avoid
- Not checking your gear. Don’t assume everything is there. A quick check at home prevents stress later.
- Choosing a bad location. Pitching on a slope or in a dip can lead to a sleepless night.
- Forgetting the guylines. A tent is not fully secure until all the guylines are properly tensioned and pegged.
- Leaving the tent doors unzipped. Pitching a tent with the doors open can strain the zips and fabric. Always zip them up before tensioning the poles and guylines.
Ready to get out there and practice? We have a full range of tents and camping essentials to suit any adventure.
Tent Set Up FAQs
Do I need to put anything under a tent?
It is highly recommended to use a ground tarp or a tent footprint under your tent. The purpose of this layer is for:
- Protection: It protects the tent floor from abrasion and punctures from sharp sticks, stones, and other debris on the ground. A small puncture in your tent floor can compromise its waterproofing.
- Insulation & Moisture Barrier: It adds a layer of insulation and prevents ground moisture from seeping up through the tent floor. This helps keep the inside of your tent dry and your gear from getting damp.
When using a ground tarp, make sure it is not visible from under the tent. Any tarp that extends beyond the tent’s perimeter will collect rainwater and channel it directly underneath your tent, defeating the purpose. It is best to use a tarp that is slightly smaller than the tent floor, or to fold the edges under.
How to Pitch a Tent in Windy Conditions
Wind is the biggest challenge when pitching a tent. For the best way to do it:
- Pitch into the wind. Position the narrowest end of the tent into the wind to create the least resistance.
- Work quickly and securely. As soon as the tent frame is up, get your pegs in the ground immediately to prevent it from blowing away.
- Use all the guylines. This is non-negotiable in windy conditions. The extra tension from all the guy lines is what will keep your tent from collapsing.
Remember, if the weather forecast is for a storm or warnings, we advise not to camp and return to base or home.
Shop tents, footprints and accessories
By following these steps, you’ll ensure your shelter is a secure, comfortable base for your outdoor adventures.
Looking to upgrade your gear or find the perfect tent for your next trip? We have a wide range of tents and accessories to suit every camper, from lightweight backpacking tents to spacious family tents.
Need help finding a tent? Explore our guides on Best Family Tents, Best Festival Tents, Best Backpacking Tents and Best Air Tents.
Related
Tent Care & Maintenance: Essential Tips for a Lasting Campsite
Comments are closed here.